
As the best-selling toy of all time, the odds of you once playing with a Rubik's Cube are pretty high. And if you're like me, or even the cube's inventor Erno Rubik, your first attempts likely ended in futility. Every twist, every turn, the cube just gets more and more mixed up. Is there really a solution?
Of course, the answer to this is "Yes." In fact, shortly after its debut in 1980, when it was first taking the world by storm, the toy's early packaging read: "Over 3 billion combinations / Just 1 solution." Time has proven that there's even more than 3 billion permutations: try 43 quintillion (or to be precise 43,252,003,274,489,856,000). Now, what about that one solution?
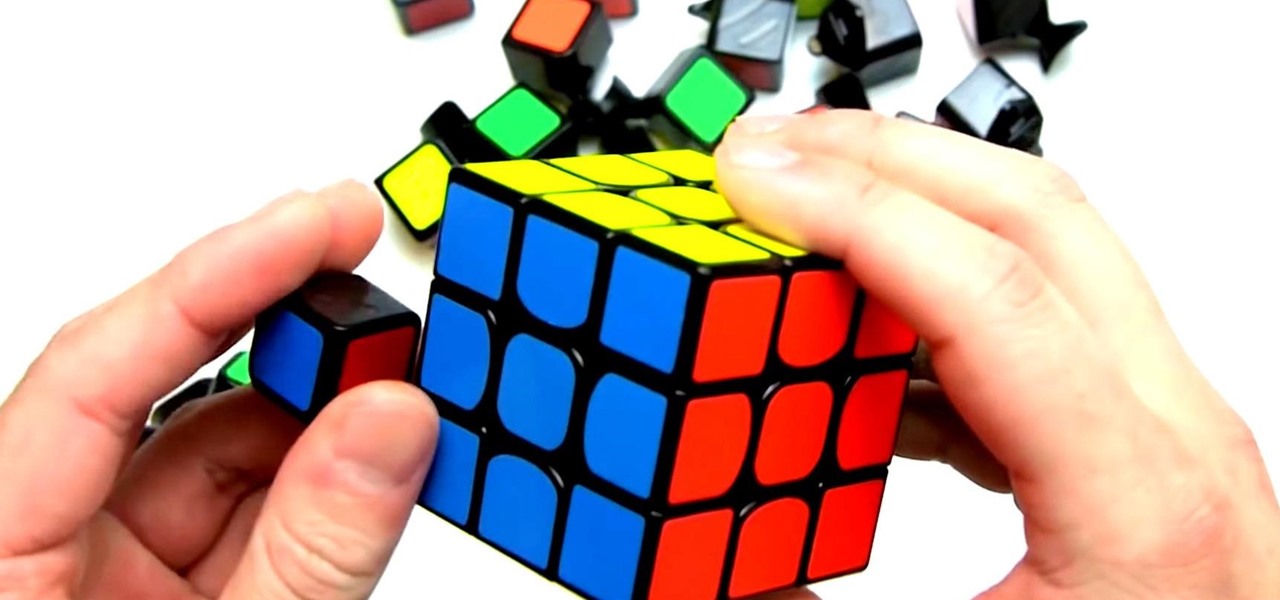
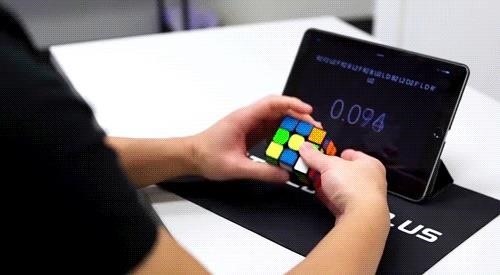
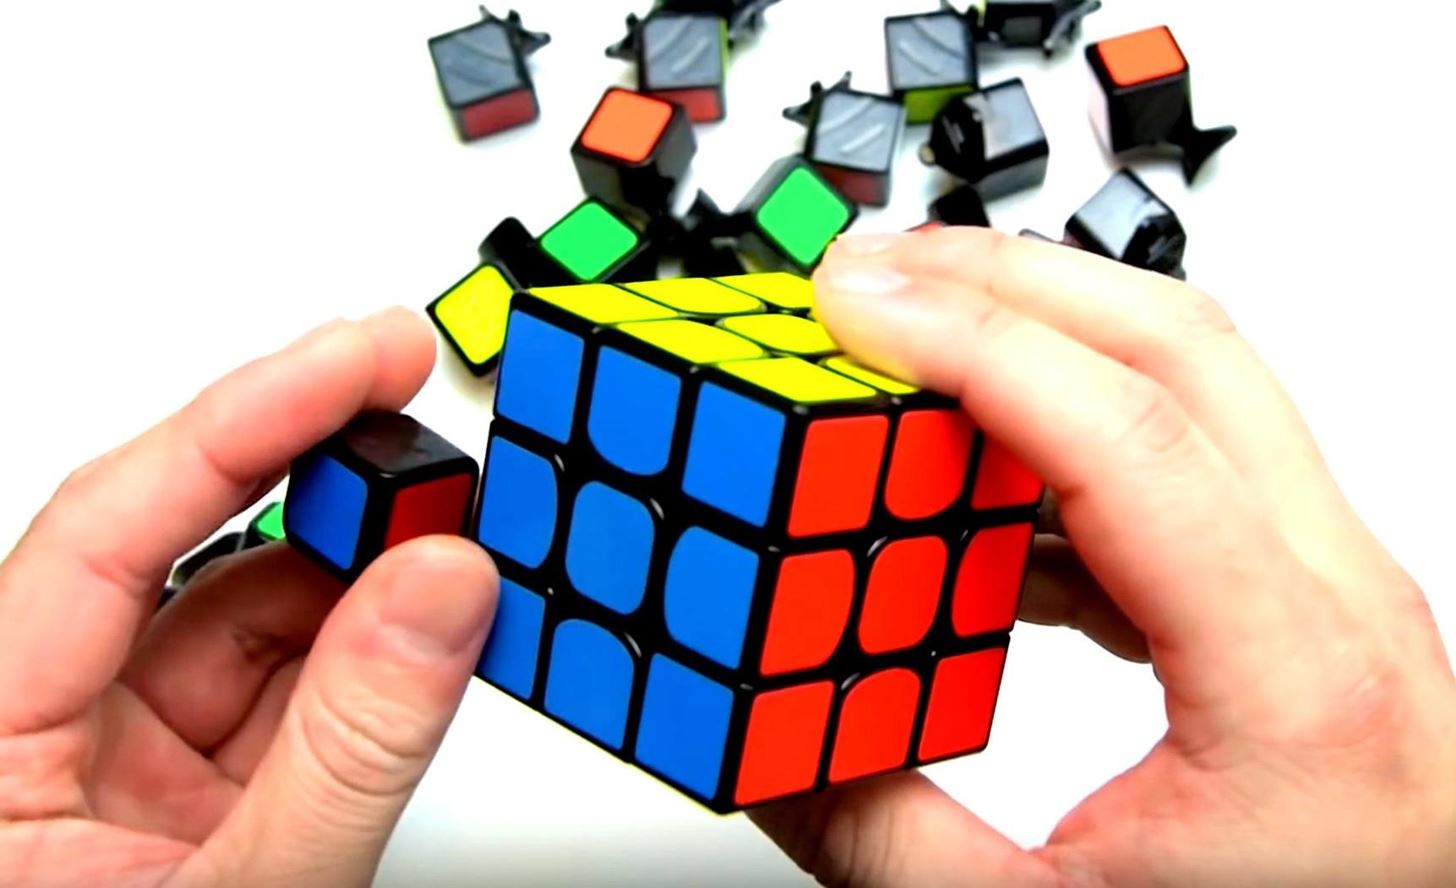
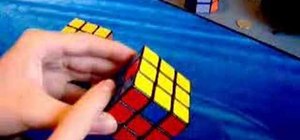
As cubers, mathematicians, and puzzle fans have discovered, there's actually more than one way to solve the ingenious 3x3x3 cube. I know that many of us would like to solve it just once. Well, today you just might be that much closer as we take a look at solving the Rubik's Cube (for beginners) with a method called "layer-by-layer," courtesy of Phil from TheCubicle.us; a first step perhaps to solving the puzzle one day as fast as this:
Rubik's Basics
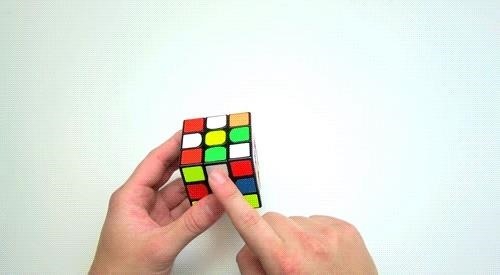
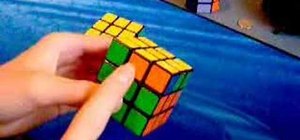
To begin, do yourself a favor and familiarize yourself with the cube and puzzle notation. The more familiar you are with how the cube and its individual pieces move, the easier it will be to "see" patterns and utlimately recognize what to do for a particular scramble.
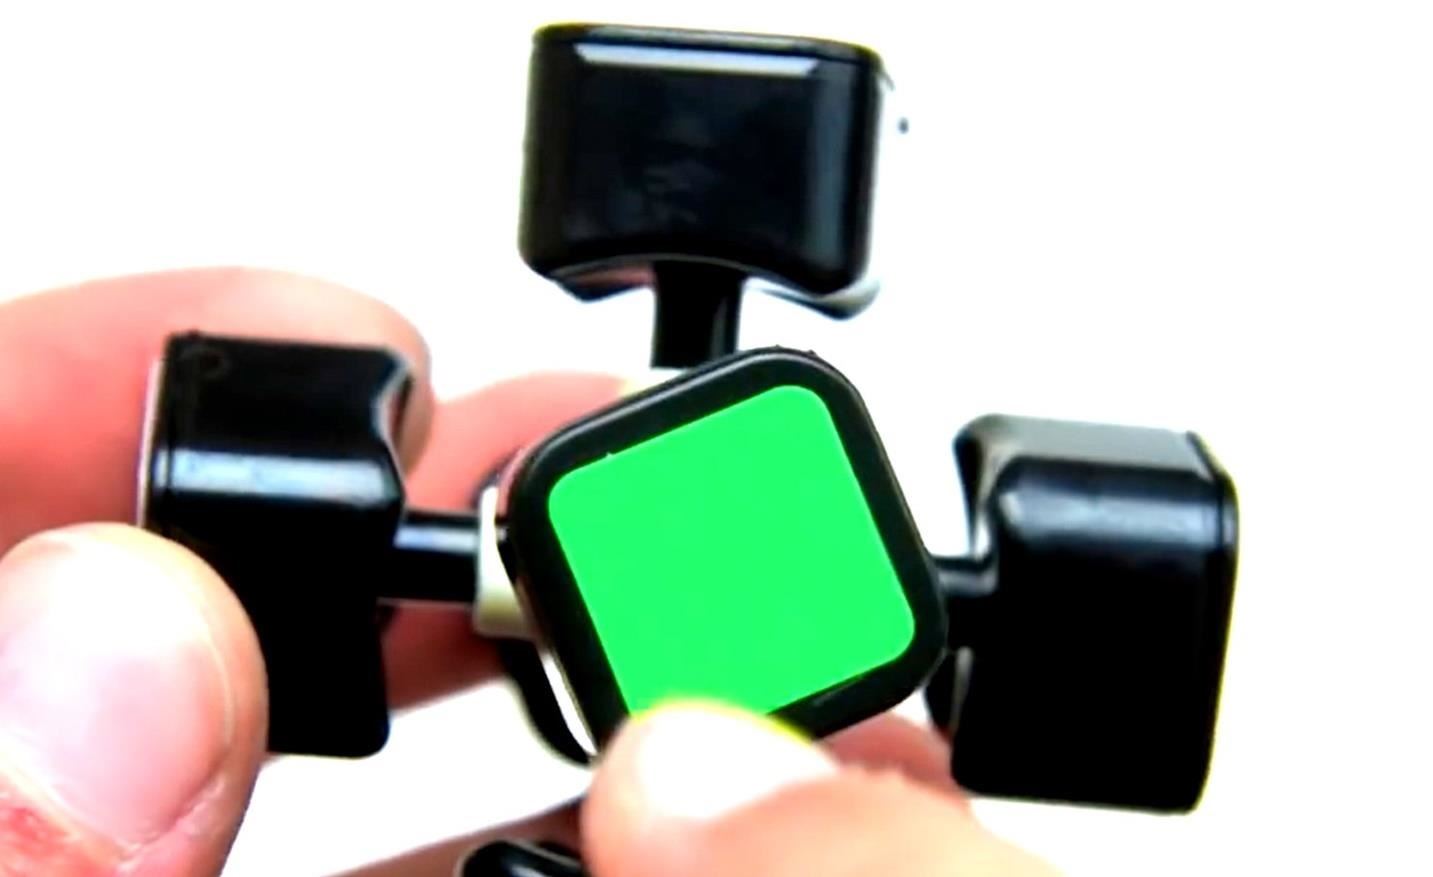
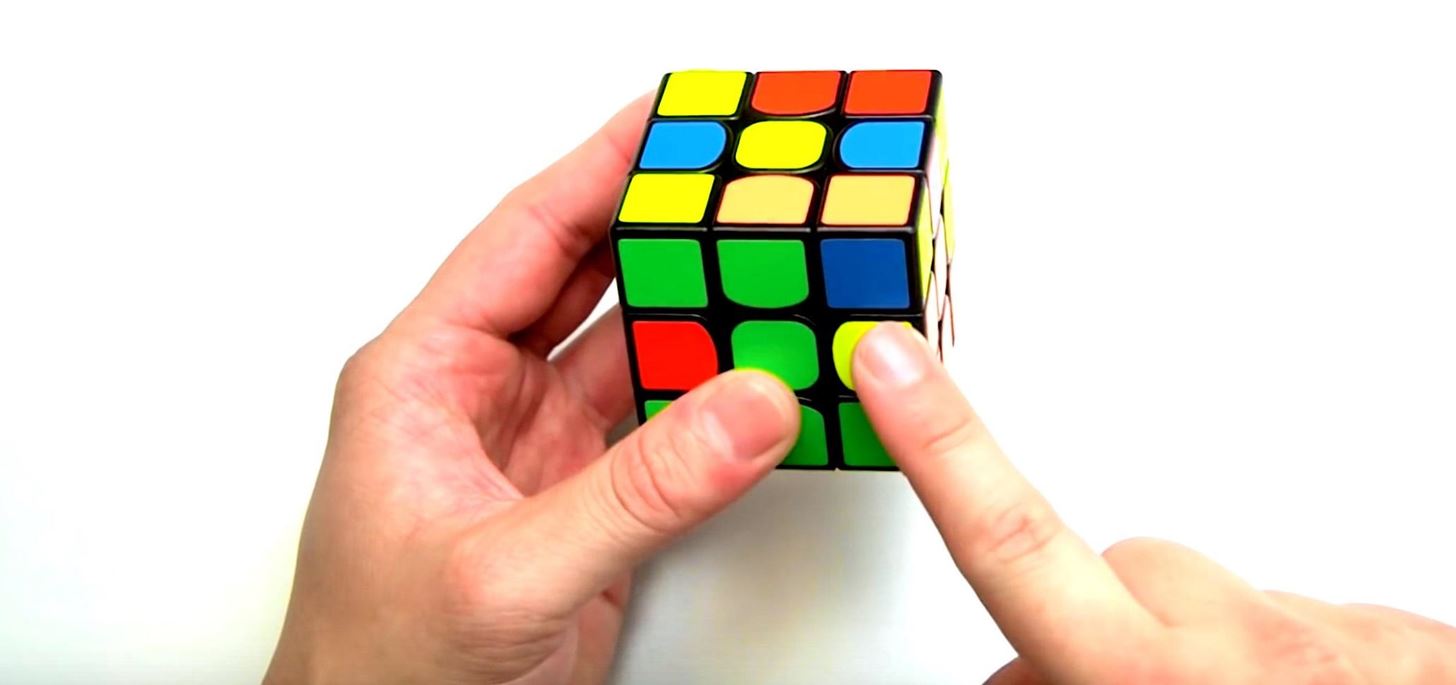
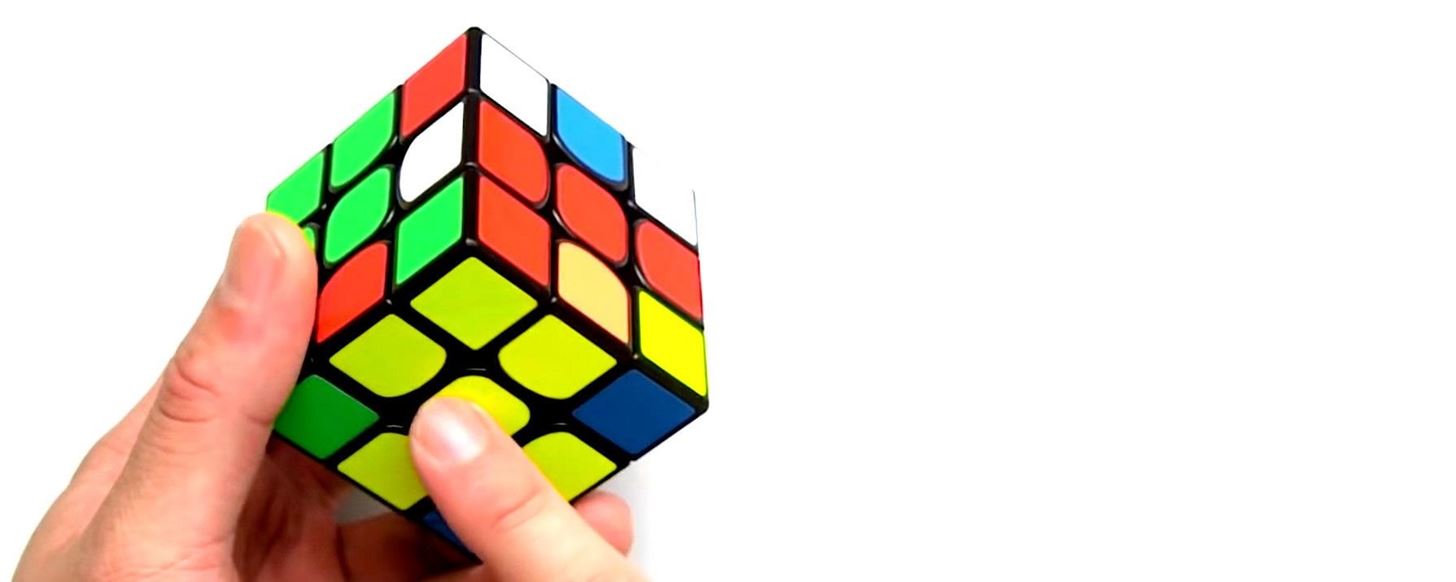
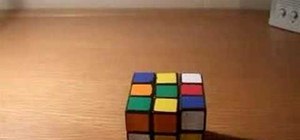
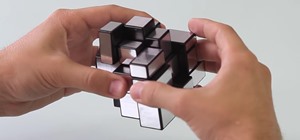
The Cube: The cube can be disassembled and then assembled again with ease (not that this is necessary to understand it). There are three types of pieces: center, which has one sticker/color per cube; edge, which has two stickers; and corner, which has three. To really get a sense of how the algorithms work, note how the pieces exist in relation to each other.
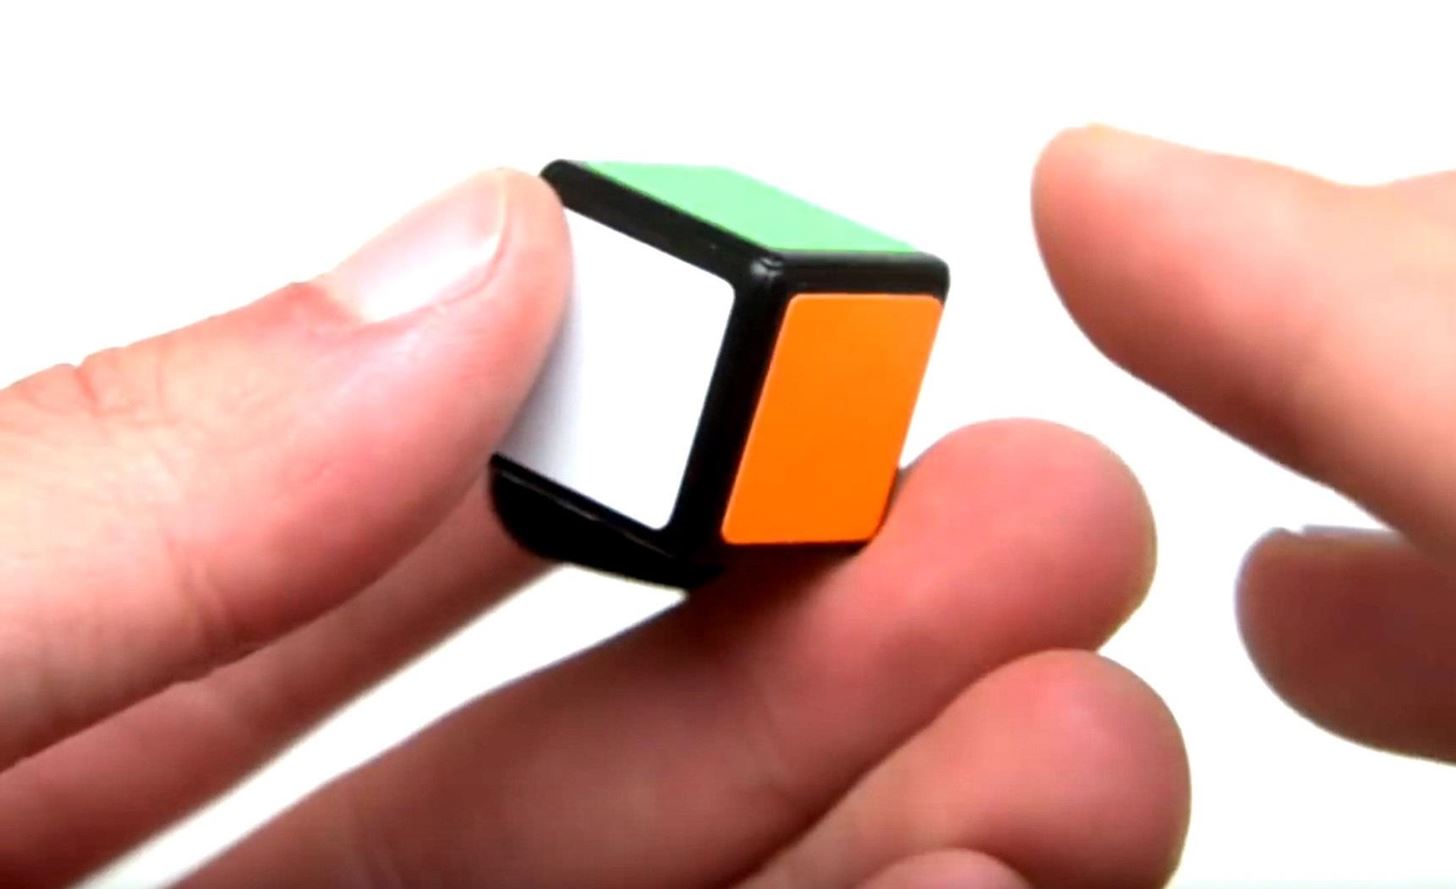
Notation: To follow this method, you'll be completing a series of moves known as algorithms. As you'll see, these sequences manipulate the piece(s) into desired locations and remarkably every scenario has a solution. Letters correspond to a part of the cube:
- R: right
- L: left
- U: up
- D: down
- F: front
- B: back
When the algorithm lists one of these letters, it means that part of the cube should be moved 90 degrees clockwise. So for F, the cube's front or face will be turned clockwise once. When the letter appears with a prime (') or apostrophe, then it means the part should be turned counterclockwise.
A Quick Shortcut for Going Faster
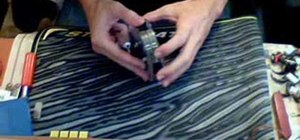
Before we get to the solution, there's one surefire way to make this go faster overall, if you want to get speedcuber heights, anymore. To go faster on the Rubik's Cube, you'll need to disassemble and lube it up. Some people recommend using Vaseline to lubricate the cube, but MeMyselfAndPi on YouTube says that silicone spray is better because it evaporates. Dirt and dust stick to the petroleum jelly, which means you'll be cleaning and lubing often, so stick with silicone spray.
The Solution
As TheCubicle.us explains, this "easy" solution relies on only a few moves, going through the cube one layer at a time. In total, the method is seven steps:
This method is easy because it's broken down into small steps, each with an obvious and well-defined goal. The method is designed to minimize intense thinking and memorization. In fact the only thing you really have to memorize is one four-move sequence and several applications of it.
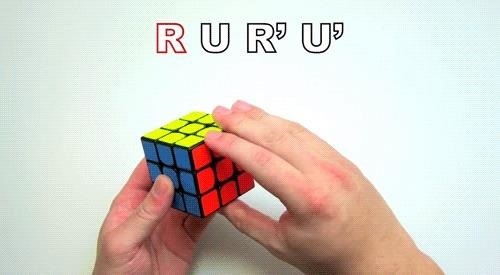
For this method, the only letters that will be used are: R, U, L, and F, where a lowercase letter means that the move should be done for two layers (e.g., f means that the first two front/face layers should be turned once). As an example, the algorithm of R U R' U' translates to:
- R: right side turn clockwise
- U: top layer turn clockwise
- R: right side turn counterclockwise
- U: top layer turn counterclockwise
So with all that said, let's get started!
Step 1: Making the White Cross
The first step is solving the white cross, which actually begins with solving the daisy.
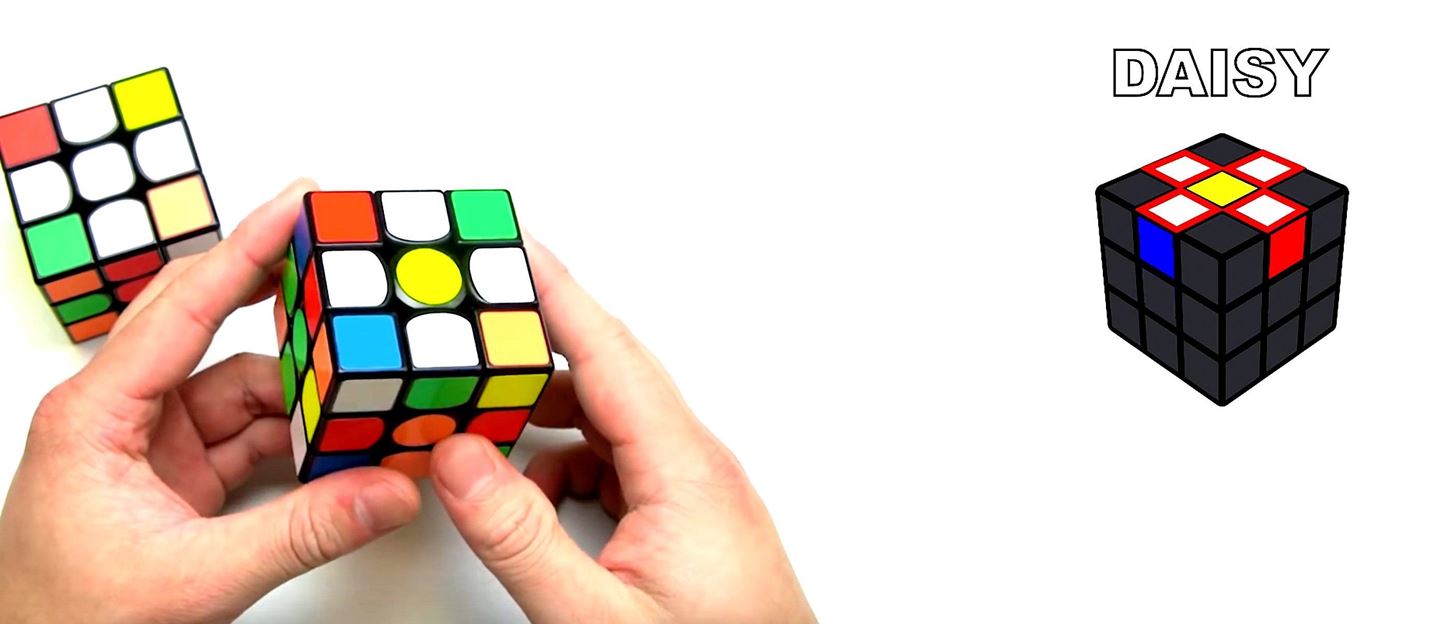
For simplicity, the step is broken down into sub-steps. First, the goal is to create a "daisy" by surrounding a yellow center with white edges. There is no algorithm for either the daisy or white cross. To get the white edges into place, it should take one to three moves and is intuitive. By solving one edge, you'll see how the other edges can be moved into the place with simple turns:
Once the daisy is achieved, it's time for sub-step number 2: forming the white cross, which focuses on the white/color edge pieces that have just been moved into place.
The objective is to first line up the white-edge piece's other color with its center. To do so, simply rotate the two bottom layers until the colors match up (green to green, blue to blue, etc.). Once they are, rotate the face or front (180 degrees) to move the white/color edge on the bottom, where the white dot/center is waiting. (Note: Because the daisy has a yellow dot, we know the opposite is the white.) Do this for all the colors and you'll end up with the cross.
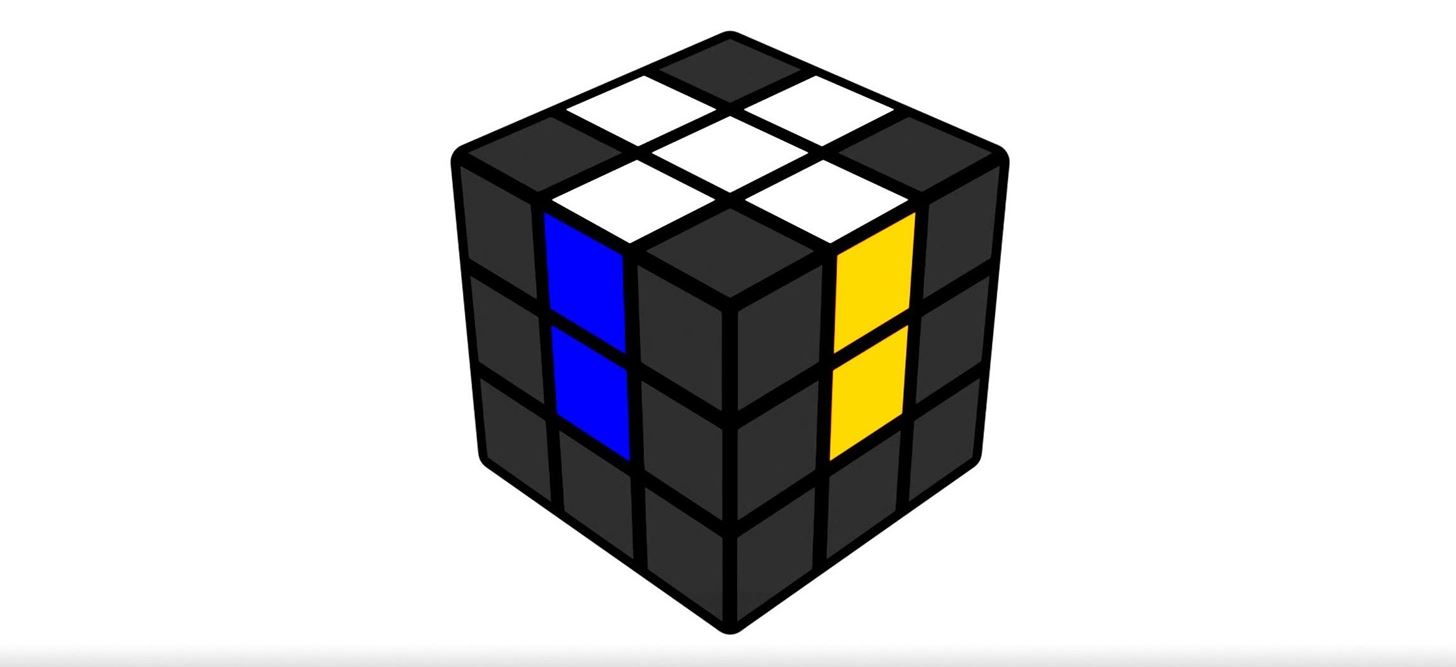
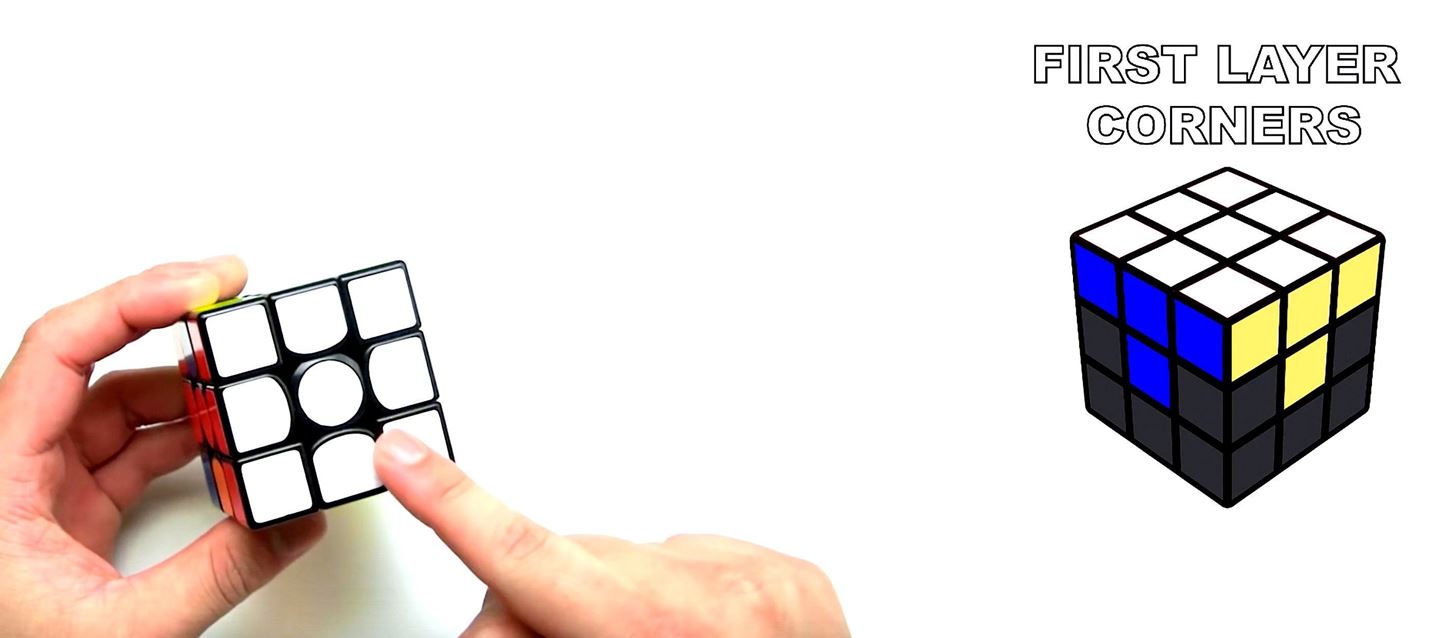
Step 2: Getting the First Layer Corners
In this step, you will first use the R U R' U' algorithm learned above. This algorithm has many purposes. Among them, dropping a corner piece from the top right to the bottom right slot. For this step, you'll be filling in the white corners of the white cross. To do this, you'll simply be loading a white corner piece into the top right, and then through repetition of the R U R' U' sequence, dropping it down to the bottom. It will take three passes:
You will always be working from the top-right corner. Once one corner on the bottom is solved, rotate the bottom two layers together to move another white-corner piece into place.
This algorithm can also help when a corner piece is twisted and trapped, or when two corners are in the wrong positions and need to swap. For these scenarios, you'll simply repeat the R U R' U' algorithm for the piece until it is solved. It will take more than the previous three.
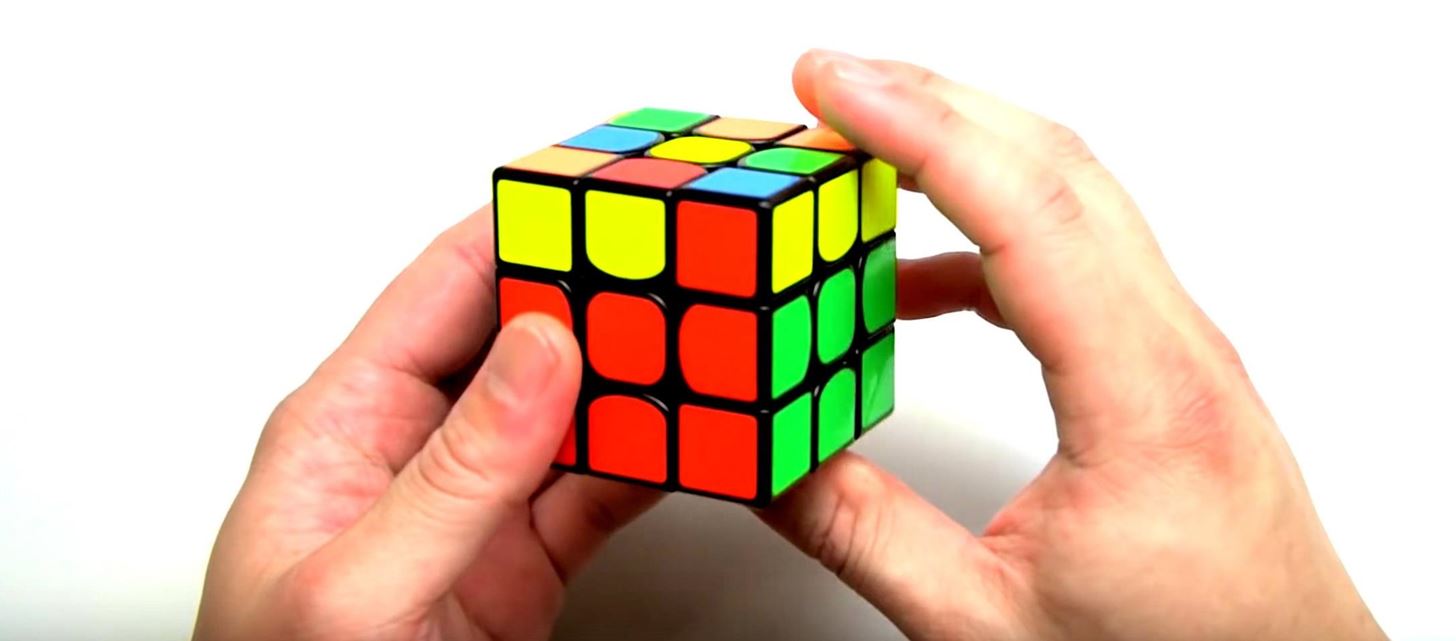
Once all corners are solved, the first layer will be complete: nine white stickers with a four-color ring:
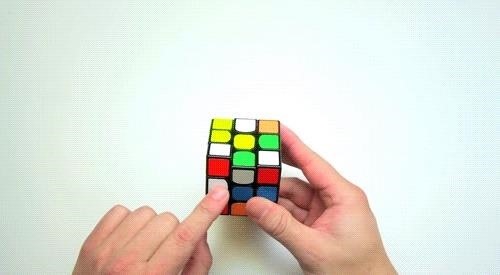
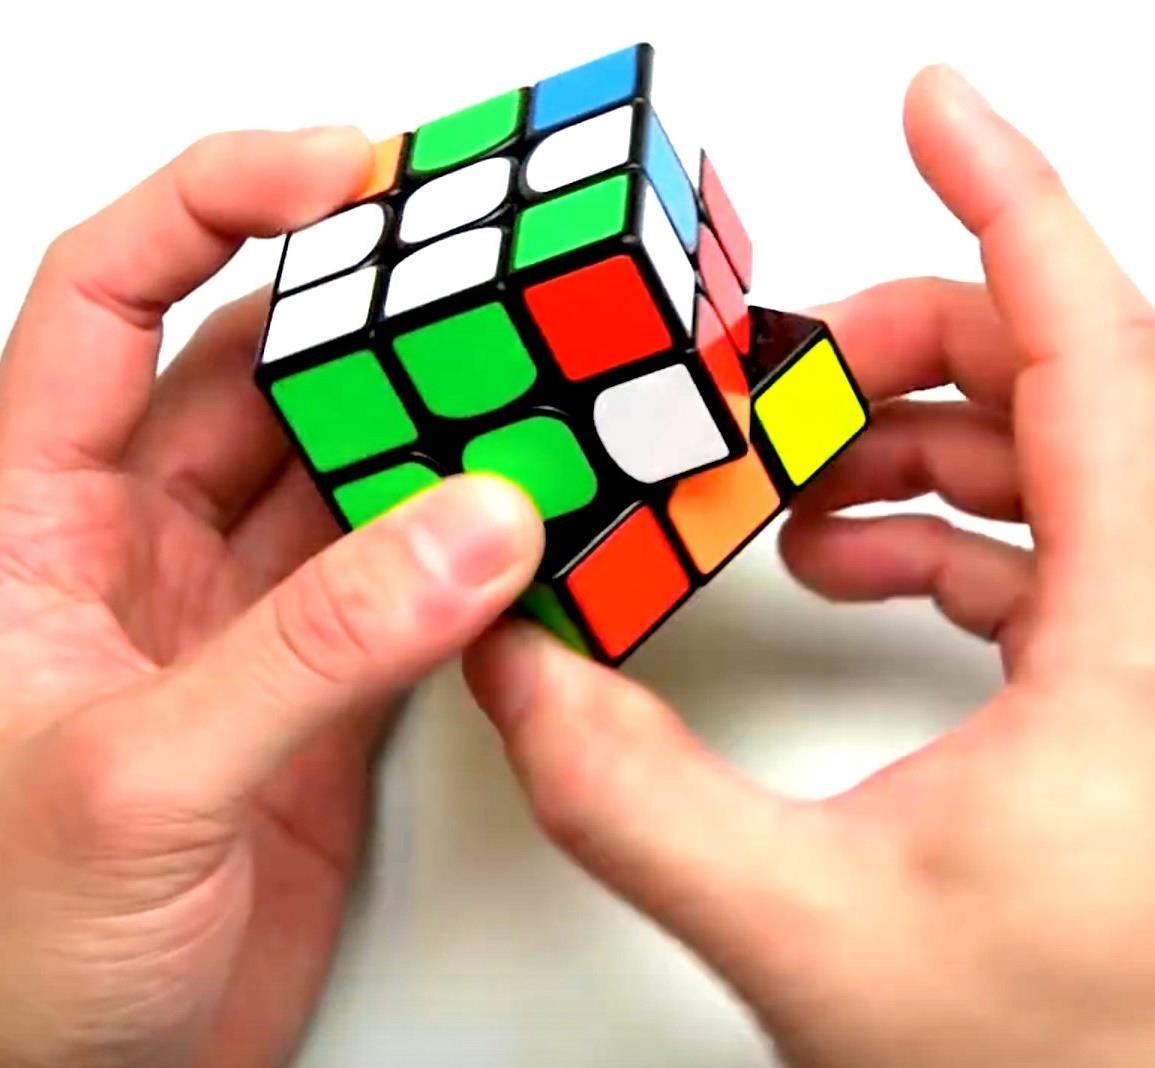
Step 3: Getting the Second Layer Edges
For the third step, you will use another algorithm. This one for the left: L' U' L U, which means:
- L': left side turn counterclockwise
- U': top layer turn counterclockwise
- L: left side turn clockwise
- U: top layer turn clockwise.
In this step, you'll be solving the edge pieces of the second layer, meaning an edge piece's two colors should be matched to their center. You'll use both the right and left algorithms to solve the edges, as well as utilize a spin of the cube either to the right or left to move the edge piece into place. In this case here, the orange/green edge piece found at the top needs to be moved to the right and down to the second layer.
To do this, you will first make sure the top edge piece is in the correct starting position: above its same color center. You are simply moving it down and to the right or left. Once it is, follow this sequence:
- U (turn the top layer clockwise once, 90 degrees)
- R U R' U'
- spin right
- L' U' L U
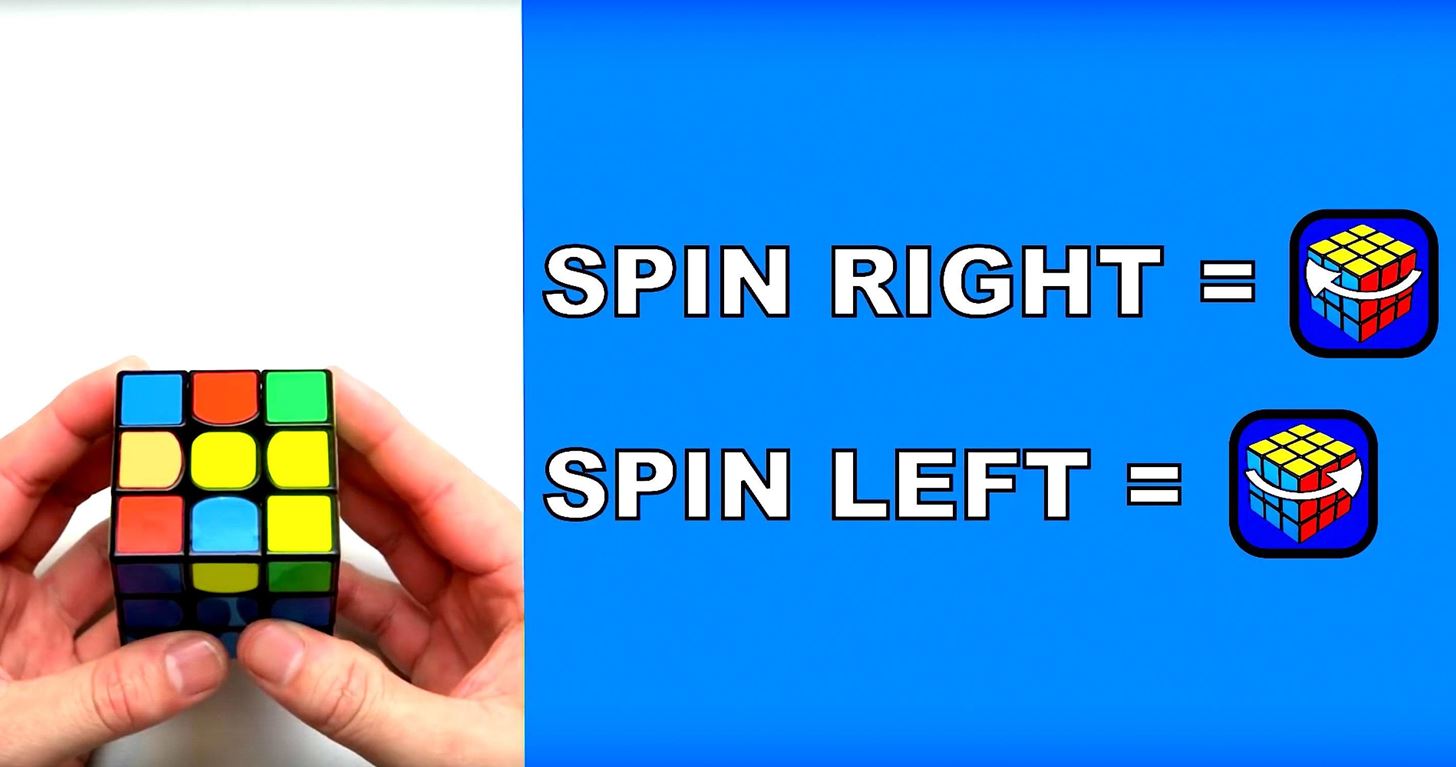
To remember this, note that you will always spin the top/up layer in the direction opposite of where you want the edge to go. So if to the right, move it away (clockwise, to the left). Then the algorithm corresponding to the edge you want it to go in (e.g. R U R' U' for right). Then spin the cube in that same direction, and follow it up with the opposite algo.
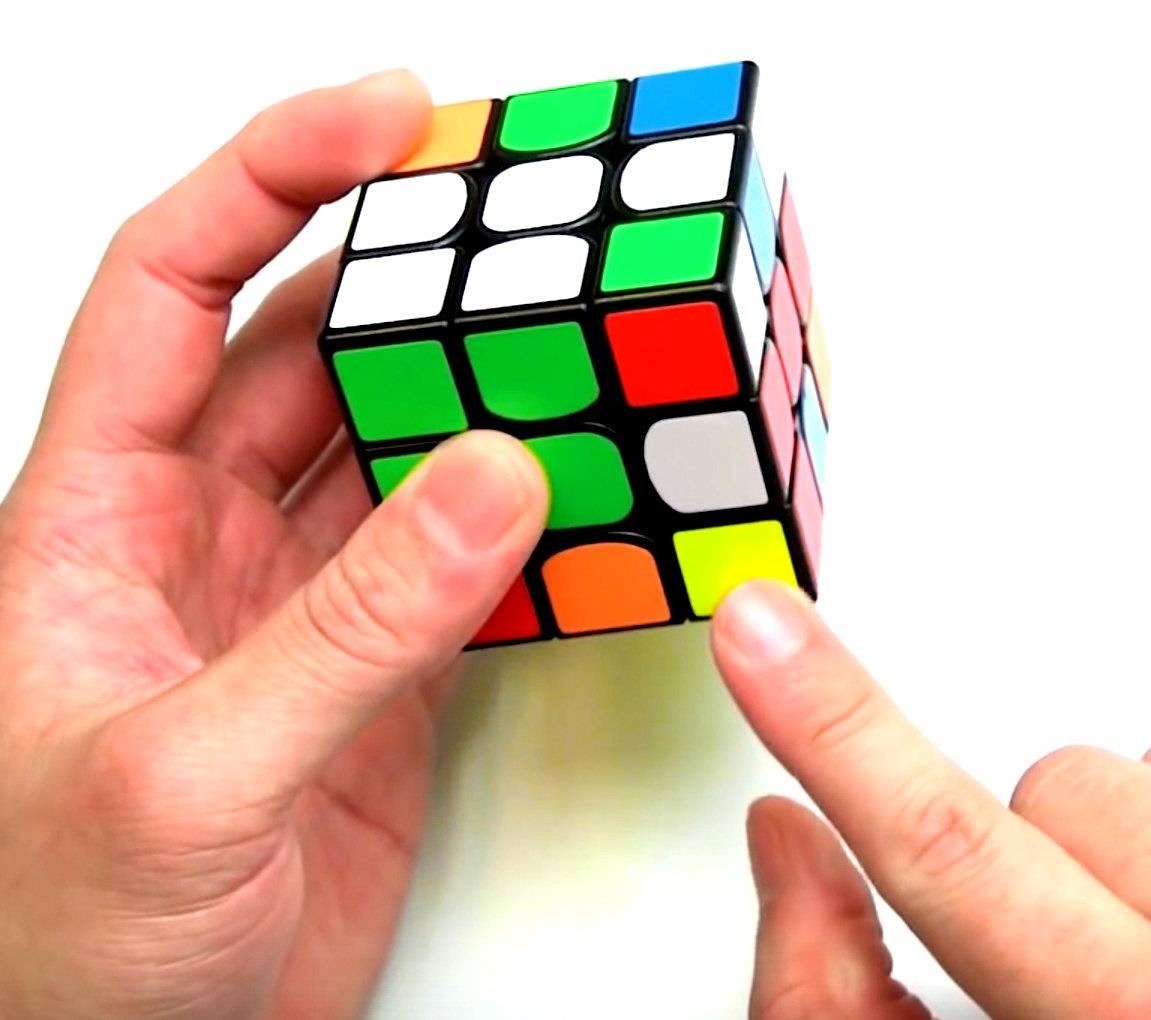
Once all the second layers edges are solved, it will look like two-thirds of the cube is done. Now all that remains is to solve the top/third layer.
Step 4: Making the Top Yellow Cross
This step will begin the solution for the final layer of the layer-by-layer method. You're nearly there! And if you're lucky, you already formed the top yellow cross after completing step 3. If so, skip ahead and move on to step 5!
For those who don't have a top yellow cross, there are only three scenarios you will ever see: the line, the angle, and the dot. Depending on which one you have, that will determine which algorithm you apply.

For the line, you'll find the yellow squares are connected from the top left corner to the bottom right. To create the cross, simply:
- F
- R U R' U'
- F'
With the angle, you'll find a yellow right angle formed by the right and bottom edge pieces with the center. To form the cross, perform this sequence:
- f (front two layers)
- R U R' U'
- f'
(Think of it as being the same as the line, only you turn the two front faces instead of just one.)
And with the dot, there are no edges found with the yellow center. In this scenario, you simply combine the algorithms for the line and angle. First, the line:
- F
- R U R' U'
- F'
This will result in a familiar look: the yellow right angle, so simply complete the sequence for the angle:
- f
- R U R' U'
- f'
And your yellow cross is complete.
Step 5: Positioning the Last Layer Corners
In this step, you'll either find that the yellow corners are in their correct positions (yay!), meaning that the other two colors of the corner piece are adjacent to their correct centers/completed side. If so, then move on to step 6.
If, however, a corner piece is not in the correct position, such as this orange/green/yellow piece below, which should be where the red/green/yellow corner is, then you need to move it into position. (Note: Don't worry yet about which way the yellow sticker is facing):
There are only two scenarios you'll encouter: corners that need to switch places opposite each other or corners that need to swap diagonally.
Scenario 1: When there are two corners oppposite each othat that need to swap, simply hold the cube with the yellow cross on top with the corners that need to switch positions on the right. Then, this algorithm:
- R U R' U' (x 3)
- spin right
- L' U' L U (x 3)
(You may have to rotate the bottom two layers to line up the centers with their top edges to get a better view of the corners' positions, which will help determine which sequence to apply.)
Scenario 2: The other scenario is when you need to swap two corners diagonally. To do so, first, do the algorithm just learned. This time, it can be done from any angle, so long as the yellow dot is facing up:
- R U R' U' (x 3)
- spin right
- L' U' L U (x 3)
After this, you'll always end up with an opposite swap. So then simply perform the sequence again, but back to with the corners to swap on the right:
- R U R' U' (x 3)
- spin right
- L' U' L U (x 3)
Just think of this as two opposite swaps = one diagonal swap.
Step 6: Twisting the Last Layer Corners
Now, with the yellow corners in position, all that's left to do is to twist them so that their yellow sticker is facing the same side as the yellow cross if they're not already. To get started, you will flip the cube upside down so that the completed white side is on top, the yellow on the bottom.
You'll be using the R U R' U' algorithm to twist the yellow sticker into place. To do so, find a corner that needs to be twisted (like the above blue/yellow/orange corner) and make sure it's on the bottom right. Then, start the R U R' U' sequence. Stop when the yellow changes position and is facing down, joining the other yellow-sided cubes.
Once done, simply load the next corner that's twisted into the bottom right corner and repeat. To get the corner in position, turn the bottom layer only. Don't spin the cube. Twist the bottom. You may need to do a double turn (180 degrees) to get the corner loaded into the bottom right corner.
Keep going until all the yellow corners are facing down. The result will be: yellow is solved.
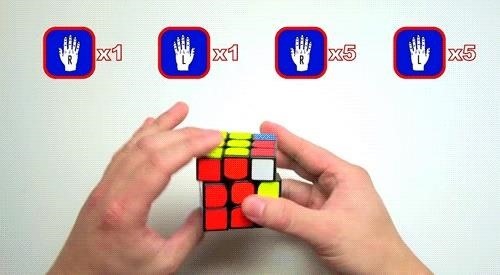
Step 7: Positioning the Last Layer Edges
The final step! Now with the yellow side turned up, turn the bottom two layers together to get the corners into their solved state (with their correct colors). You'll find that everything should be solved except for the edges on the last layer. There are two cases:
One Edge Solved: To solve this, turn the cube so that the solved edge is facing you, in the front. After this, you will perform these moves:
- R U R' U'
- L' U' L U
- R U R' U' (x 5)
- L' U' L U (x 5)
Do this and your cube is solved!
No Edges Solved: This, too, is very simple. Basically, the same sequence repeated twice. First:
- R U R' U'
- L' U' L U
- R U R' U' (x 5)
- L' U' L U (x 5)
This will solve one side of the cube, which will bring you to the "one edge solved" scenario and you know how to solve that. Again:
- R U R' U'
- L' U' L U
- R U R' U' (x 5)
- L' U' L U (x 5)
Congratulations!
We solved the Rubik's Cube! In just seven steps. And as TheCubicle.us says, once learned, this method can be taught to anyone. So share your newfound knowledge and keep solving this addictive toy that has sold more than 350 million cubes around the world. Here's the terrific tutorial in its entirety if you'd like to check it out!
Just updated your iPhone? You'll find new emoji, enhanced security, podcast transcripts, Apple Cash virtual numbers, and other useful features. There are even new additions hidden within Safari. Find out what's new and changed on your iPhone with the iOS 17.4 update.

7 Comments
soo coool!!! THankS man.
OH MAN.....OWESOME.....
not bad,,,
silicone spray does not work all that great!
anyone have shortcut way for completed rubiks cube.....
hello , friends, well just practice some of ideas,
This Is Me Seeing This Video "Just Get to the Dam Point" Lol
This video was too help me put my brothers Rubik cube together and when I clicked on it I was like "hurry up" lol
Comment if you can relate
Like If you don't
Share Your Thoughts